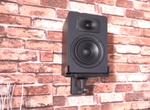
Whether for your cramped room, or just wiring your room for good music, it's better to get speakers off the ground, and up to the ear level. Given that non-powered speakers are not heavy, with few materials and one hour of work, it’s simple to make customized brackets for hanging them on walls.
Here is how you can hang your speakers on the wall as shown below.
‘Step 1’
Make marks on your wall
‘Take a mounting bracket’ and ‘place it against the wall’ . Then ‘take a sharpie or a pen’ and make a marking at the top hole and the bottom hole at the location of the wall that you will drill.
‘Step 2’
Drill the holes [ /b]
A 3/8-inch drill bit is recommended to make the drills. ‘Drill the bottom hole and top hole’ at the exact location of the wall where you made the marks. ‘Take a Philips driving bit’ and attach it to the screw gun. For easier installation, ‘remove the hanging bracket’ from your speaker.
‘Step 3’
Fasten your brackets into the wall [ /b]
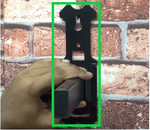
‘Put the bracket on your wall’ and align the pre-drilled pits with the coinciding marks. Slip your screw fasteners' tapered tips across the bracket base and the holes. ‘Thread your fasteners into the wall’ using the screw gun.
‘Step 4’
Attach your speakers to the wall [ /b]
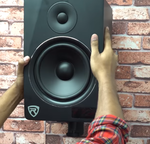
Hold your bracket firmly with your hand and ‘drag it downwards to ensure that it will hold the speakers’ . Take your speaker and attach them to the bracket.
‘You can now easily set up and hang your speaker on the wall by following the above steps’


