When you are recording your game play footage, you will have the game audio or headphones in one track and the microphone audio in another track.
With the help of this how to guide you can adjust the game sounds so they do not interfere with the microphone sounds. With a single track, when you lower the volume the sound will be reduced in both mic and the game sound. So here is how you can separate both.
In OBS, there are six tracks and connectivity for 5 devices. This guide is for two audio tracks.
Step 1
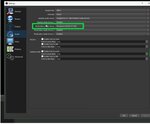
Go to settings and on the output feature select advanced output mode.
Step 2
Now go to audio tab and select all the audio devices you want. In the image below the headphone and mic is selected.
Step 3
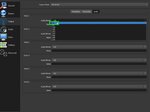
Next go to advanced audio properties and in the audio mixer feature, click on the gear adjacent to mixer which leads to advanced audio settings where you can make the necessary adjustments.
In this section, on the left you will find the devices you have chosen and to the right the audio tracks you want to assign to the devices.
Choose the track you want to connect to the microphone and the headphone by checking on the box next to the track. You can delete the tracks you do not want later on in the video editing, so even if you choose more than one track for a device it does not matter.
Step 4
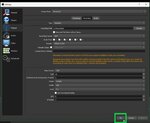
Now go to the output settings again and click on apply and ok.
Step 5
Also make sure you choose the right bit rate for each track or else the sound will not record properly. Setting to 192-bit rate is optimal for clear and good quality audio.
By following the above steps, you can easily Set Up Audio In OBS Studio


