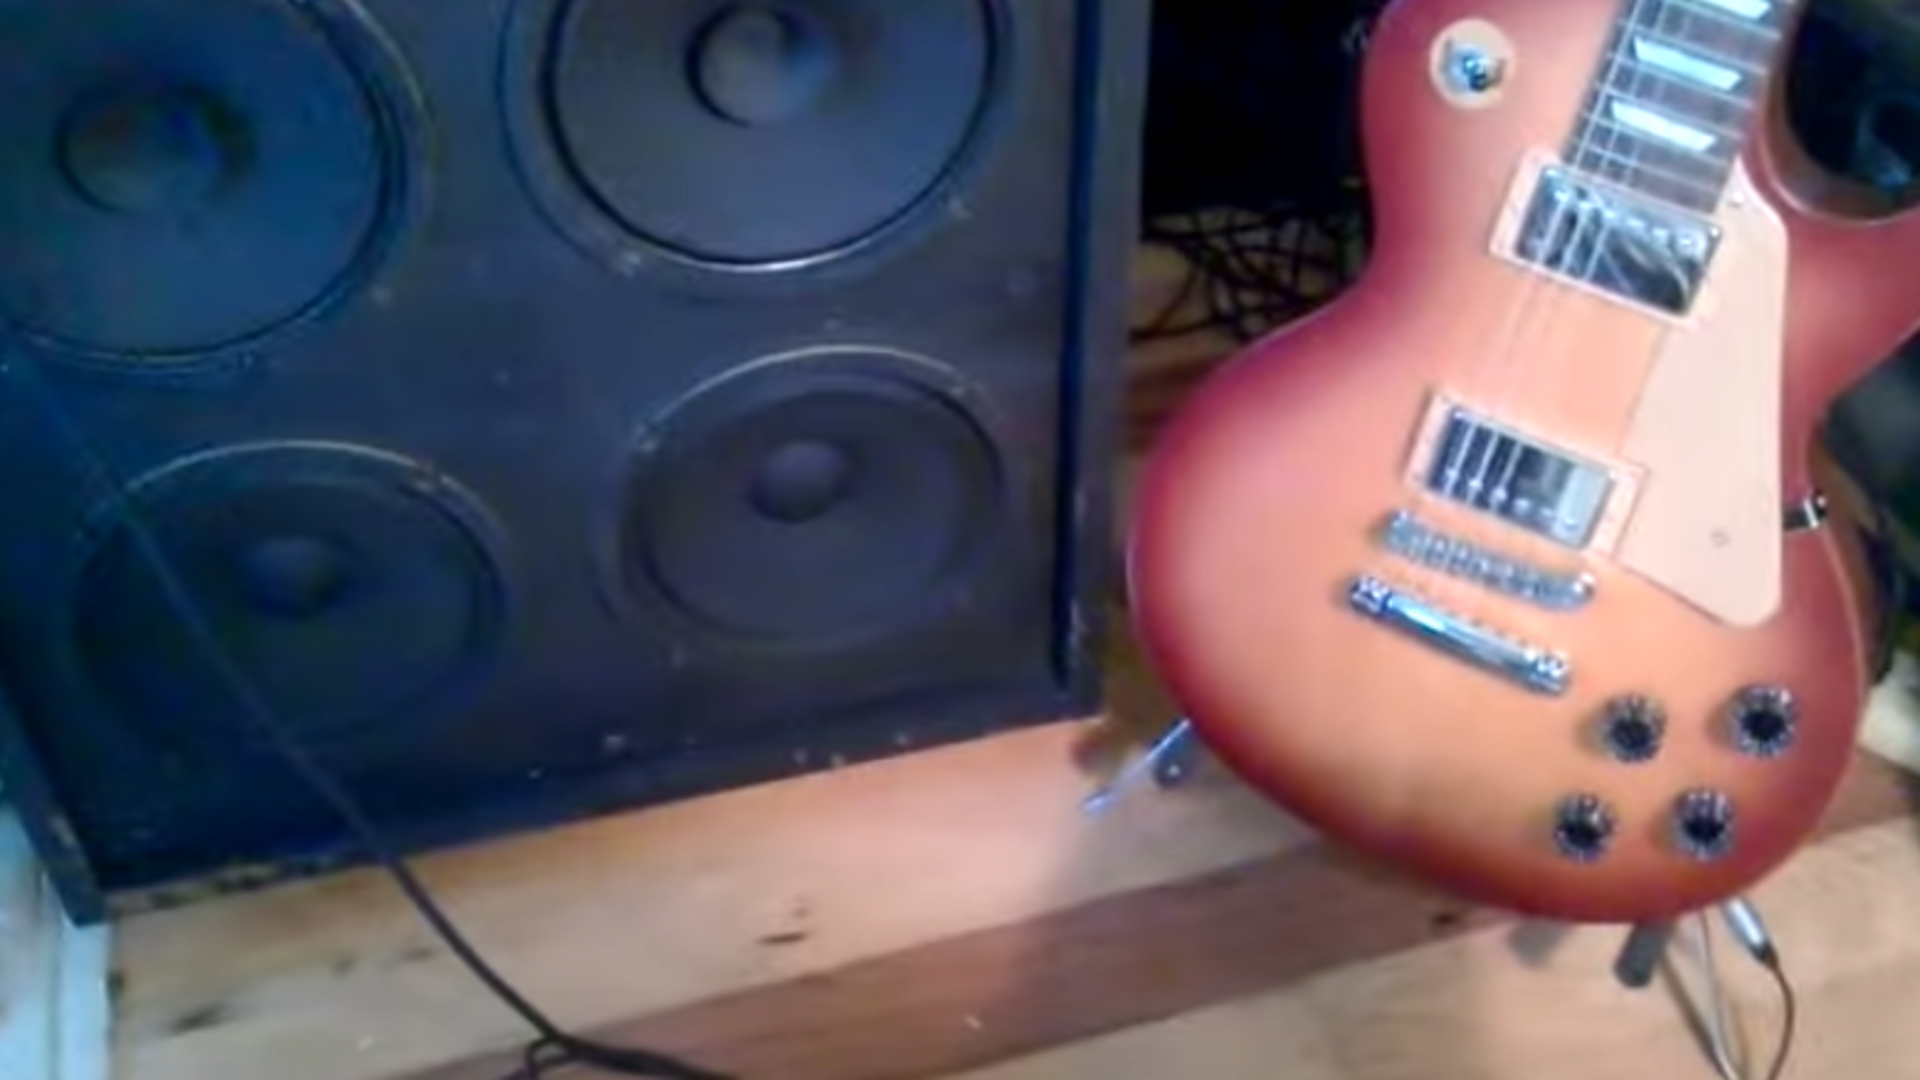
Have you ever felt the need to ramp up the volume of your guitar strumming? You can connect your electric guitar to your audio system to truly ‘hear’ your own music during your home practice sessions. It is as safe as it is easy. This tutorial will walk you through the steps required to connect a guitar to your audio system.
Step 1
Switch on your audio system
Turn on your audio system. Your system is now ready to be connected to your guitar.
Step 2
Ensure that your speakers are connected to your player
Check the back of your audio system to make sure that the speakers are connected to the right output ports. This will ensure that your guitar’s sound can be transmitted through the speakers.
Step 3
Connect the Y-adapter
Take a 0.25’’ Y-adapter with two 0.25’’ plug-to-RCA cables and put the RCA cables in the two ports of the adapter. Now, you are ready to connect the Y-adapter to your audio system.
Step 4
Connect the RCA cables to your audio system
Insert the other ends of the two RCA cables connected to the Y-adapter into the left and right input channels at the back of your audio system. This finishes one part of the pairing process.
Step 5
Connect the Y-adapter to the guitar
Insert the male plug of the Y-adapter in the output port of your electric guitar. Your guitar is now paired to the audio system.
Now, you can strum that guitar and enjoy the sound through your audio system. It’s time to have your own mini concert at home!


